
Get full access with a free account
Benefits of the Coloplast® Professional Educational platform
- Get full access to all educational content, events and resources
- Track your progress
- Share content with your colleagues
- Share supporting material with your patient
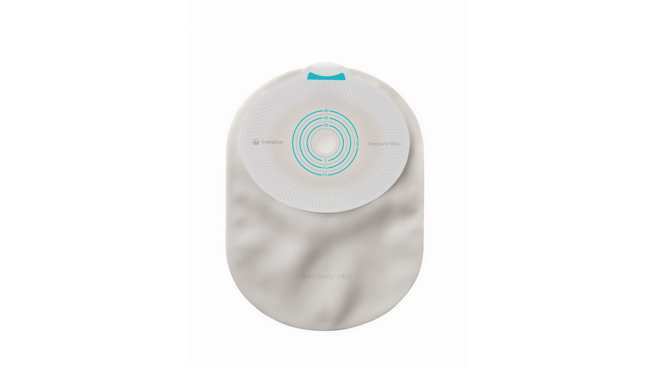
Ostomy care guide
Introduction
When changing an ostomy pouch the key is to be prepared and have everything ready.
1) Preparation of equipment
You will need warm water, cleaning wipes, a new ostomy pouch, any supporting products such as a Brava Protective Seal, a pair of scissors if the pouch needs to be cut to size and a disposal bag. Empty a drainable pouch prior to removing.
2) Remove the used ostomy pouch and clean and dry the skin
Remove the ostomy pouch by peeling away the barrier and gently lifting the pouch. Start from the top and peel downwards, pressing on the skin above the pouch to support it. An adhesive remover can be used to aid removal.
3) Measure the stoma if needed
Initially after surgery, the size of the stoma may change and therefore the size of the opening in the pouch may need changing to ensure it is not too large.
4) Put on the new ostomy barrier and pouch
Position the opening in the barrier around the stoma and apply the sticky side to the skin. Run your finger around the stoma to ensure a good seal. Barrier adhesives require both light pressure and warmth to adhere securely so using an outward motion, lightly press the rest of the barrier to the skin until all the edges are sealed. If using a two-piece pouch, seal the pouch securely to the barrier flange. If the pouch is drainable, be sure to close the clip/Velcro® closure.
5) Disposal
Place the used ostomy pouch and cleaning / drying wipes into a disposal bag, seal / tie and place into the trash.